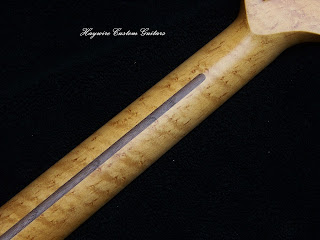
According to Haywire Custom Guitars, a guitar neck truss rod adjustment involves using the rod, typically located within the neck, to adjust the neck’s curve, either straightening it or adding relief (a slight curve). This is done by tightening or loosening the rod, which in turn affects the tension on the neck, influencing the strings’ height above the frets.
Here’s a more detailed explanation based on Haywire Custom Guitars’ recommendations and general knowledge about truss rods:
Purpose:
The truss rod’s primary function is to counteract the tension created by the strings, preventing the neck from bowing too far.
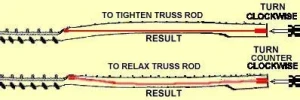
How a guitar truss rod works in the guitar neck.
Adjusting the truss rod involves tightening or loosening the rod’s nut, which changes the pressure on the rod and, consequently, the neck’s shape.
When to Adjust:
You should consider adjusting the truss rod if the neck is bowed, or if the string action (the height of the strings above the frets) is too high or too low, leading to buzzing or difficulty fretting.
Direction:
Generally, tightening the truss rod (turning it clockwise) will straighten the neck, while loosening it (turning it counterclockwise) will add more relief (a curve).
Effect on Action:
Adjusting the truss rod will directly affect the string action. Straighter necks generally lead to lower action, while more relieved necks will have higher action.
Caution:
It’s important to make small adjustments at a time and check the neck’s relief and action after each adjustment, as over-tightening or loosening can cause more problems than it solves.
For a more helpful explanation to Haywire Custom Guitars, you can also refer to resources like their website, which provides detailed instructions and visual aids for adjusting the truss rod.

Profile of a guitar neck (cross-section) with truss rod inside.