

Guitar Maintenance & Repair
A proper guitar maintenance & repair setup and a string change is all about doing things in the right order. Start with a fresh set of strings, set the neck relief with the truss rod, dial in the string height (action), and finish by setting the intonation.
Take your time and make small, deliberate adjustments. Re-tune as you go, check your work often, and use the right tools for the job. A good setup isn’t about chasing numbers—it’s about getting the neck, action, and intonation working together so the guitar plays and sounds the way it should.
Work in a clean, well-lit space, use the correct hex keys and screwdrivers, and don’t force anything. Small adjustments make a big difference.

adjusting your guitar truss rod for straightness at the guitar head stock
Changing Guitar Strings
Fresh strings are the foundation of a good setup. Remove the old strings one at a time, or take them all off if you’re giving the fretboard a proper cleaning.
Install each new string cleanly and leave enough slack for 2–3 neat wraps around the tuning post. Keep the wraps tight and organized—no overlaps or loose coils.
Once the strings are on, gently stretch each one by pulling it upward and away from the fretboard. Tune back to pitch and repeat the process until the strings settle in and hold tune. Take your time here. Properly seated, properly stretched strings make the rest of the setup much easier.
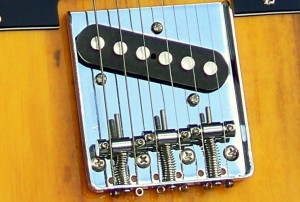
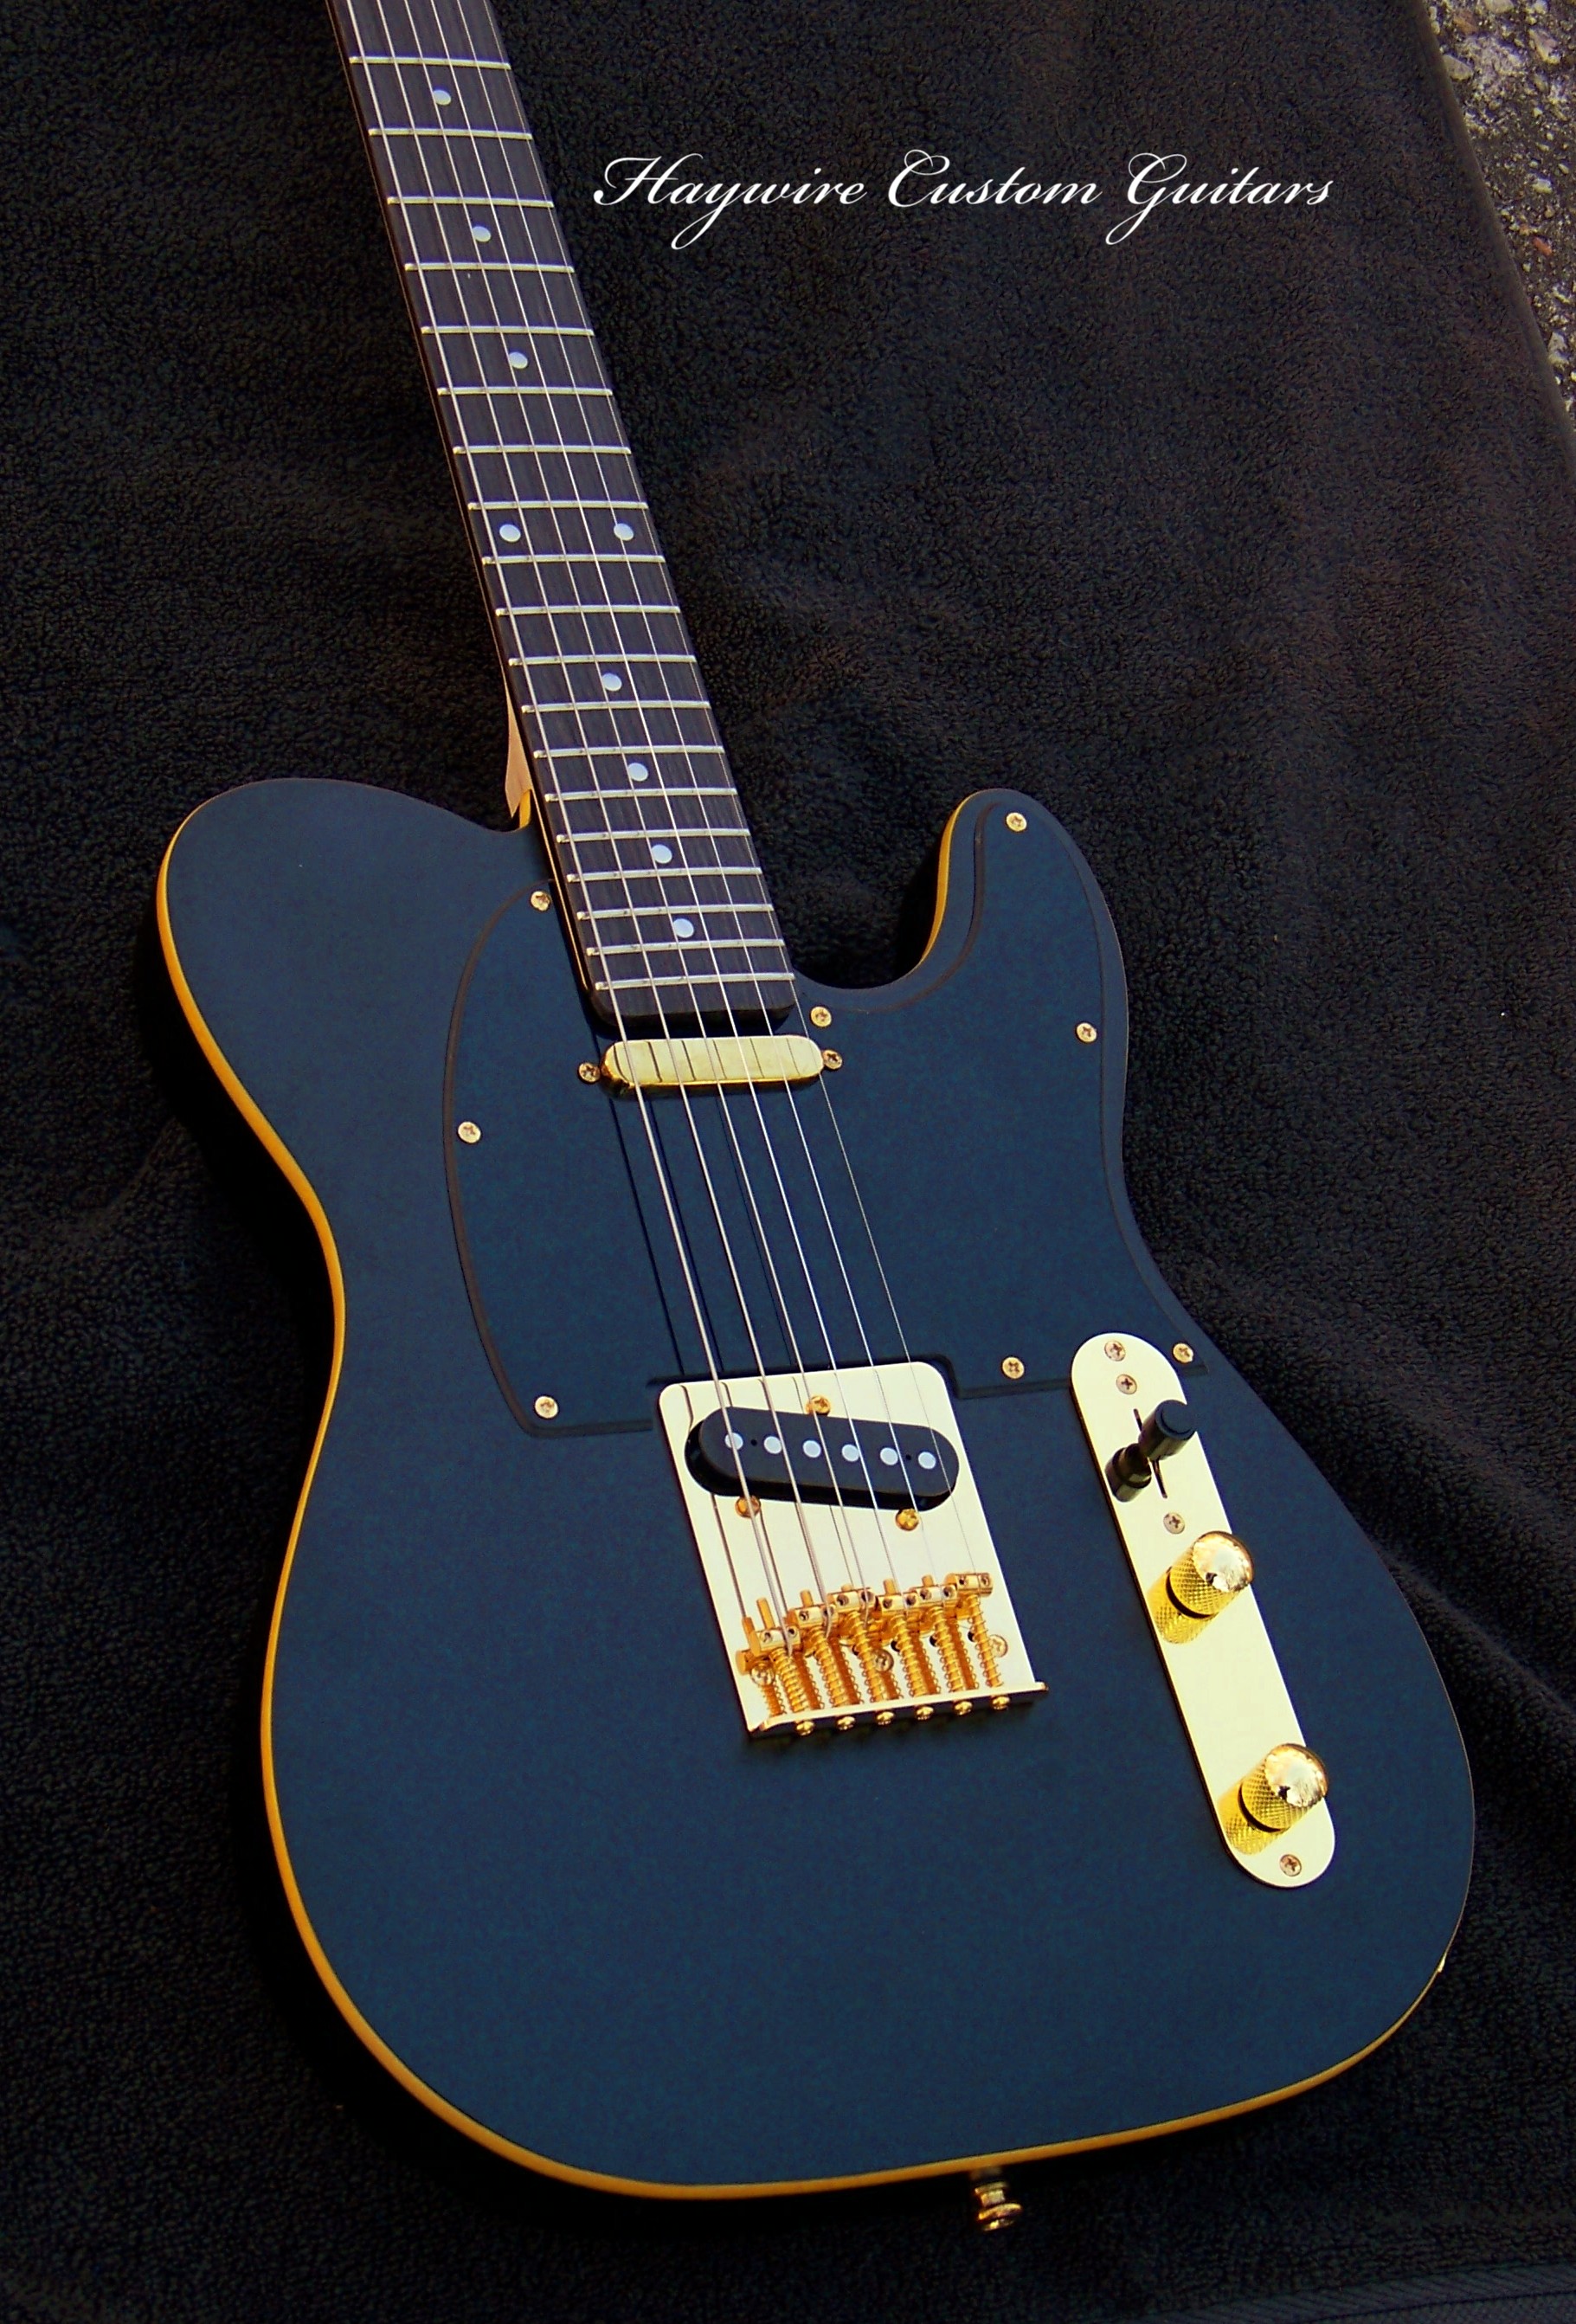
Telecaster 3 barrel vintage bridge with guitar action and intonation adjustments and Haywire SRV pickup
Adjusting the Truss Rod — Neck Relief
The truss rod controls the amount of relief in the neck, and getting it right is a big part of getting the guitar to play properly.
To check the relief, fret the low E string at the first fret and again at the last fret where the neck meets the body. Check the gap between the string and the frets around the 7th–9th fret. You’re looking for a small, consistent amount of relief—not a perfectly flat neck.
If there’s too much forward bow, turn the truss rod clockwise (right) to tighten it and reduce the relief. If the neck has too much back-bow and you’re getting buzzing across the lower frets, turn it counter-clockwise (left) to add relief.
The golden rule: small adjustments. Never crank on a truss rod. Make no more than a ¼-turn at a time, re-tune the guitar, and check the neck again before making another adjustment.
If the rod feels unusually tight or doesn’t want to move, stop. Don’t force it. That’s when it’s time to let a qualified tech or luthier take over.
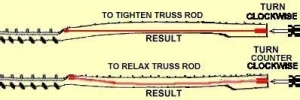
How a guitar truss rod works in the guitar neck.
Setting Intonation
Intonation is what keeps the guitar playing in tune all the way up the neck. It’s the final step in a setup, and it’s worth taking the time to get it right.
Start by tuning the open string accurately with a good electronic tuner. Then play the fretted note at the 12th fret and compare it to the open string. You can also use the 12th-fret harmonic as a reference.
If the 12th-fret fretted note is sharp, the string needs to be made longer. Move the bridge saddle back toward the bridge and away from the neck.
If the 12th-fret note is flat, the string needs to be made shorter. Move the saddle forward, toward the neck.
After each adjustment, retune the open string and check it again. Keep making small adjustments until the open note and the 12th-fret fretted note line up.
Go slow and make small moves. A little adjustment at the saddle can make a noticeable difference in intonation.

Rick Mariner working on guitar repairs, setting guitar action


Leave A Comment
You must be logged in to post a comment.