

Installing A Bolt-On Guitar Neck
at: Haywire Custom Guitars Inc.

at: Haywire Custom Guitars Inc.
Haywire Custom Guitars Inc.
If a bolt-on neck will drop in a body with a bit of room to align it right or left that’s a good start so far. Generally when I prep a neck I’ll fill any existing screw holes in the heel. If there are holes already drilled in the neck heel, you can try to use them, but honestly never trust holes on necks drilled by someone else. It’s always best for the most successful project to drill your own holes in the neck heel (and have a depth stop on the drill bit so you don’t drill through the fret board on other side)…. blue tape works well. When ordering a “New” neck, I recommend omitting the mounting holes and drilling them yourself to match your body.
The optimum way to begin, with the least headaches, is to simply dowel the existing holes. Use wooden Bar-B-Que skewers then add glue in the hole break them off in the holes, sand smooth and you ready to go. Now with a fresh clean surface to work with you can move to the next step.
So let’s go over how to get this operation PERFECT. I have used this method in hundreds of neck installs and it is the best technique. As follows and note: You’ll need to add both ” the 1st & 6th E” strings to the neck before final installation on body to set the string margins exactly.
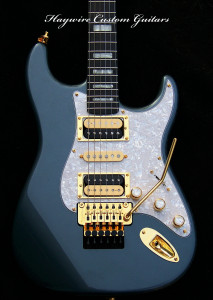
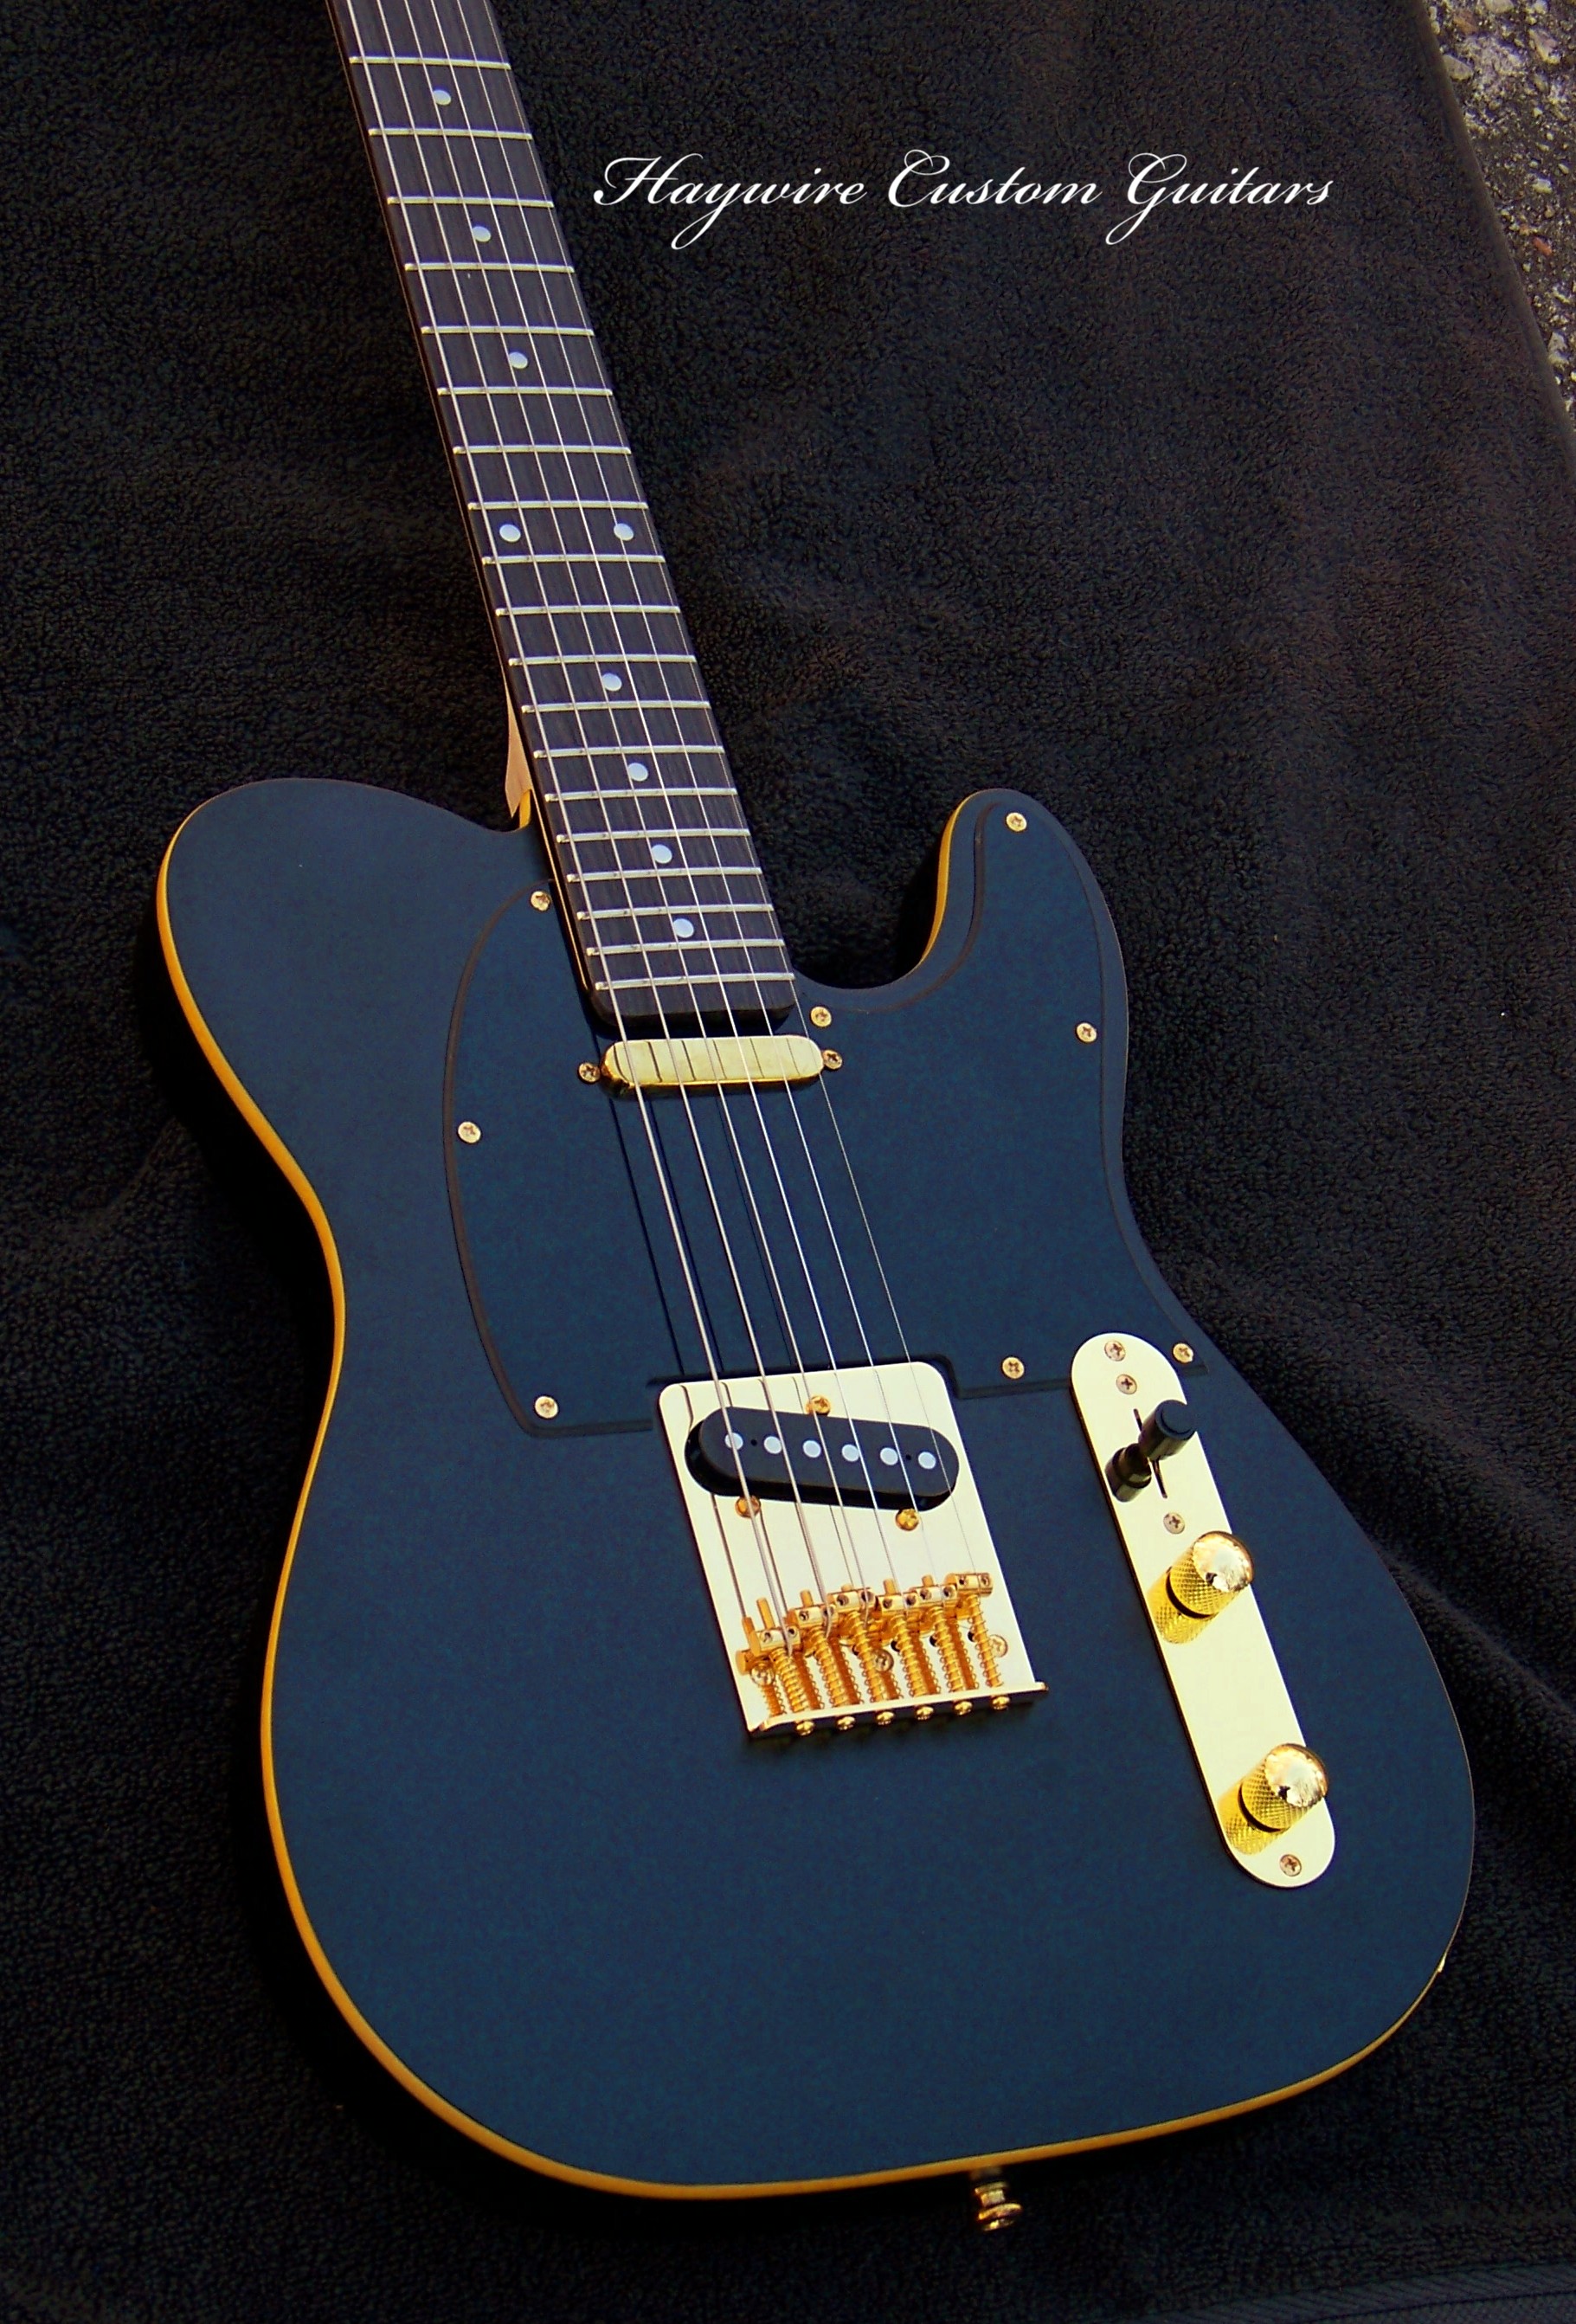
Haywire Custom Guitars Custom Fat Strat with Floyd Rose tremolo and Dimarzio pickups with gold saddles is difficult to setup, however the string margins are perfect!
Let’s start……….
First: Tape the neck plate onto the back of the body vertically and horizontally leaving the holes exposed. Next, using a “C” clamp, add the bolt-on neck, body and neck plate together and place a thin piece of wood in each jaw to protect the guitar fret board and the neck plate then tighten. Snug it but not too tight. Now, add the two outside “E” strings. This is where a very slight gap between the sides of the neck heel and body comes in handy and extremely helpful.
Setting the margins is a critical operation, however not difficult
Setting the margins is a critical operation, however not difficult. Once you have clamped the neck and added the 2 outside strings, face the guitar. Now, most important, move the neck right or left to get the string margins set perfect on each side of the fret board all the way down.
Once this is done then you can enter the next installation steps. Finally, take care to “mark the screw hole depth” on the drill bit with tape. As a result, you won’t to drill through the front of the fret board. Ready? Tighten the clamp, spin the guitar around and drill one hole. Add the first bottom screw (some liquid dish detergent always helps the journey for the screw threads to enter smoothly). Now spin the guitar back around to check your string margins again. Be sure the neck hole alignment is good through the back plate. If the neck needs a side to side adjustment then tap hard on the head stock with the heel of your hand until the string down each side has the same margin.
This will get everything aligned again. Now you’re ready for the rest of the holes to be drilled in the bolt-on neck.
margin space between the outside strings and the edges of the fret board…
Installing a bolt-on neck is not a difficult process but methodical and deliberate. Most noteworthy, follow this on EVERY neck install. Your necks will all come out with the perfect amount of margin space. The space between the outside strings and the edges of the fret board. Once in the neck may need shims to tilt it either up or back. Be sure and add shims if necessary. They are sometimes critical to eliminating “Buzz”.
This technique will assure that everything is straight and true. A small gap will help to accomplish this. It will give you enough room to set the margins exactly right on each side. Let me know if I can assist further. Also please write us from the Haywire Custom Guitars website and let us know what you’re interested in.
Ordering From Haywire Custom Guitars
If you would like to order this or any other custom guitar, please contact us and we will be happy to discuss your guitar needs.
Rick Mariner-Haywire Custom Guitar Shop
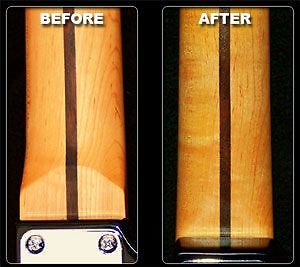
If a bolt-on guitar neck will drop in a body with a bit of room to align it right or left that’s a good choice so far. Generally when I prep or order a neck I’ll fill the heel screw holes. If there are holes already drilled in the neck heel in it then you can try to use them but never trust holes on necks drilled by someone else. It’s always best for the most successful project to drill your own holes in the neck heel (and have a depth stop so you don’t drill through the other side and blue tape works well).
drill your own holes in the neck heel
The optimum way with the least headaches is to simply dowel the holes. Use wooden Bar-B-Que skewers then add glue in the hole break them off in the holes, sand smooth and you ready to go. Now with a fresh clean surface to work with you can move to the next step. So let’s go over how to get it PERFECT. I have used this method in hundreds of neck installs and it is the best technique. As follows and note: You’ll need to add the “two E” strings to the neck before final installation to bolt-on guitar neck, Then you can to set the string margins exactly.
First: Tape the neck plate onto the back of the body vertically and horizontally leaving the holes exposed. Next, using a “C” clamp, add the bolt-on guitar neck, body and neck plate together and place a thin piece of wood in each jaw to protect the guitar fret board then tighten. Snug it but not too tight. Now, add the two outside “E” strings. This is where a very slight gap between the sides of the neck and body comes in handy and extremely helpful.
never trust holes on necks drilled by someone else
Setting the margins is a critical operation, however not difficult. Once you have clamped the neck and added the 2 outside strings, face the guitar and move the neck right or left to get the string margins set perfect on each side of the fret board all the way down.
Once this is done then you can enter the final installation steps. Take care to “mark the screw hole depth” on the drill bit with tape bit so as not to drill through the front of the fret board. Ready? Tighten the clamp, spin the guitar around and drill one hole. Add the first screw (some liquid dish detergent always helps the journey for the screw threads to enter smoothly), spin the guitar back around to check your string margins again and the neck hole alignment within the back plate. If the neck needs adjustment then tap hard on the head stock with the heel of your hand to get everything aligned again. Now you’re ready for the rest of the holes to be drilled.
check your string margins
It is not a difficult process but methodical and deliberate. You follow this on EVERY install and your necks will all come out with the perfect amount of margin space between the outside strings and the edges of the fret board.Once in the neck may need shims to tilt it either up or back. Be sure and add shims if necessary. They are sometimes critical to eliminating “Buzz”.
This technique will assure that everything is straight and true. The small gap will help to accomplish this and give you enough room to set the margins exactly right on each side. Let me know if I can assist further. Also please write us from the Haywire Custom Guitars website and let us know what you‘re interested in.

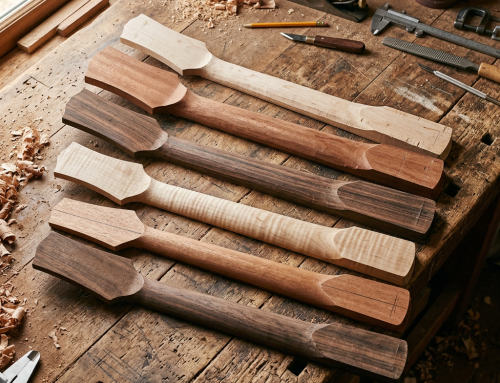
Neck shaving and neck profile building in the Haywire Custom Guitars-Custom Shop as well as install bolt-on neck



Leave A Comment
You must be logged in to post a comment.